

Lock These 5 Settings to Avoid Reshoots: Frame Rate for Interviews for Most Video Production
Updated: 4 days ago

For most interviews, 30 fps is the safest default, 24 fps if you want a filmic, documentary feel, and 60 fps only if you plan to slow the footage down later. Whichever you pick, set shutter speed to the 180-degree equivalent and lock that frame rate through your entire timeline and export. Everything else is negotiable. That one is not.
TL;DR:frame rate for interviews
Shooting at 30 fps is recommended for most interviews unless a cinematic or documentary feel is desired, which favors 24 fps video production.
Ensuring shutter speed is double the frame rate (180-degree rule), such as 1/60 at 30 fps, produces natural motion blur that viewers expect.
Locking the same frame rate, shutter speed, and timeline settings before shooting prevents costly mismatches and post-production issues.
High frame rates like 60 fps are mainly useful for slow-motion shots, but avoiding variable frame rate combinations is essential for consistency.
Industry focus on 24 fps can obscure the importance of correct shutter speed, which has a greater impact on footage quality and natural motion.
The Right Frame Rate for Interviews: 24 vs 30 vs 60
Frame rate is a creative decision disguised as a technical one. Camera manufacturers frame it that way for good reason: Canon’s own guidance treats 24 fps, 30 fps, and higher frame rates as tools tied to mood and delivery platform, not a settings menu you scroll past. Here’s what each one actually does on screen.
24 fps: Slightly juddery on fast motion, with that familiar cinematic cadence audiences associate with film and prestige documentary. Best for branded content, thought-leadership pieces, and any interview meant to feel crafted rather than captured.
30 fps (technically 29.97): Smoother, more neutral, and forgiving of handheld movement or subject fidgeting. Canon’s technical breakdown calls this the dependable default for talking heads, and it’s the standard for corporate video, social clips, and most broadcast-style interviews.
60 fps: Rarely a delivery rate on its own. It exists to be slowed down. Shooting an interview at 60 fps and playing it back at native speed can produce what one FPS explainer calls a “hyper-real” look that pulls attention away from the subject instead of toward them.
If you’re stuck deciding, default to 30. Reserve 24 for projects where the entire piece, not just the interview segment, is speaking in a cinematic language.
How Shutter Speed and the 180-Degree Rule Shape Motion
Frame rate gets the attention, but shutter speed decides whether footage looks natural or wrong in a way viewers can’t quite name. The 180-degree shutter rule solves that: set your shutter speed to roughly double your frame rate. That single ratio is what Adorama’s frame rate guide points to as the source of the motion blur audiences expect without consciously noticing.
In practice:
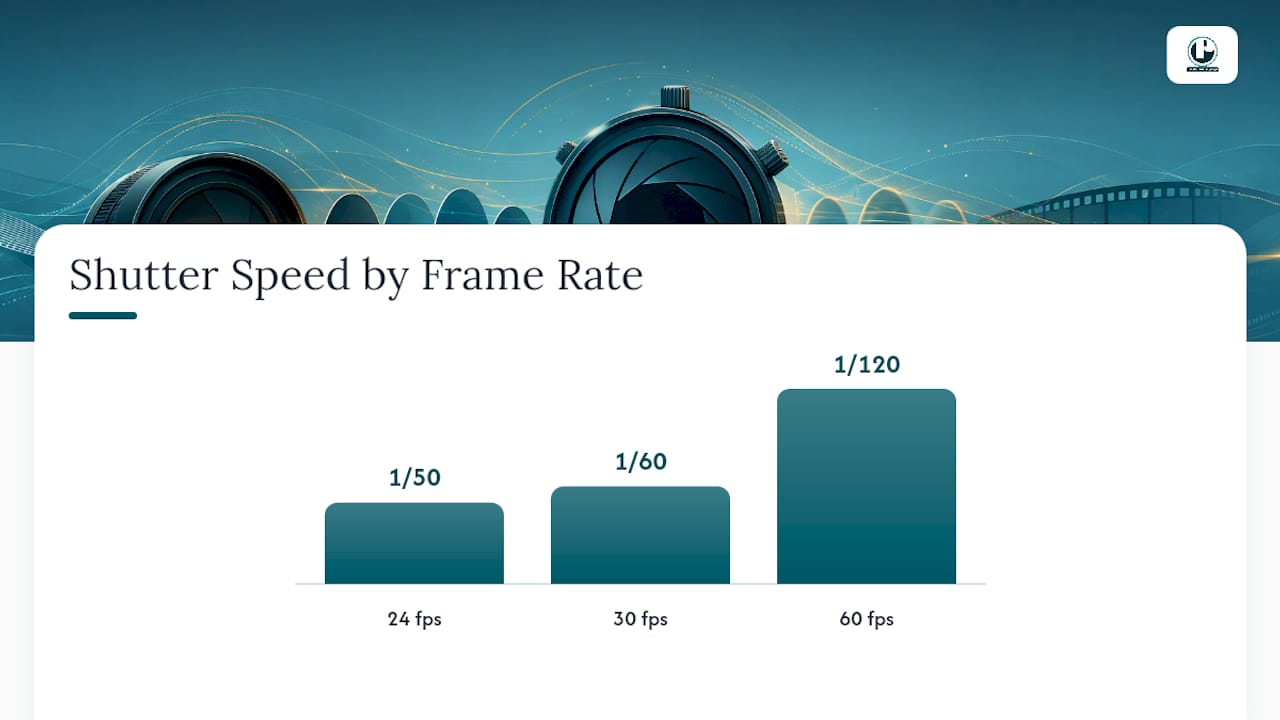
24 fps → 1/48, rounded to 1/50 on most cameras
30 fps → 1/60
60 fps → 1/120
Go faster than that ratio and motion starts to stutter, that flickery, almost robotic look you sometimes see in cheap sports broadcasts. Go slower and you get excessive blur, hands and heads smearing across the frame during even modest gestures. Neither reads as a stylistic choice to most viewers. It reads as a mistake.
Low light complicates this. If 1/60 at 30 fps leaves you underexposed, raising ISO or opening your aperture usually beats slowing the shutter, since a dragged shutter is the one thing viewers will notice even if they can’t explain why.
Pro Tip: Some documentary and music-video interviews intentionally break the 180-degree rule for a gritty, hyper-sharp look. That’s a legitimate stylistic swing, but make it a deliberate choice for the whole project, not an accident from forgetting to adjust shutter speed after changing frame rate.
A Preproduction Checklist for Choosing Frame Rate
Lock your frame rate before the shoot, not during the edit. Work through these steps in order:
Check delivery requirements first. A broadcaster, streaming platform, or client spec sheet almost always overrides personal preference. If the deliverable calls for 29.97, that decision is already made for you.
Pick your creative target. Filmic and documentary-leaning pieces point to 24 fps. Neutral corporate or social content points to 30 fps. Anything requiring slow motion points to 60 fps or higher as a source rate, not a delivery rate.
Assess the shot dynamics. Heavy camera movement, expressive gestures, or planned cutaways and b-roll all favor the smoother motion of 30 fps unless the cinematic look is non-negotiable for the brand.
Confirm your camera’s real capabilities. Not everybody hits 60 fps at 4K, and card speed can bottleneck a camera that technically supports the frame rate on paper.
Run the on-set sequence. Set fps, set shutter to the matching 180-degree ratio, shoot a test clip, and play it back at full resolution before you commit the actual interview to that setting.
Skipping step five is how crews discover a shutter mismatch after the subject has already gone home.
Matching Camera, Timeline, and Export Settings
The frame rate you shoot at should match your timeline frame rate, which should match your export frame rate. That sentence sounds obvious until you’ve opened a 24 fps project in a 30 fps timeline and watched an editor spend an afternoon chasing a stutter that was never a camera problem.
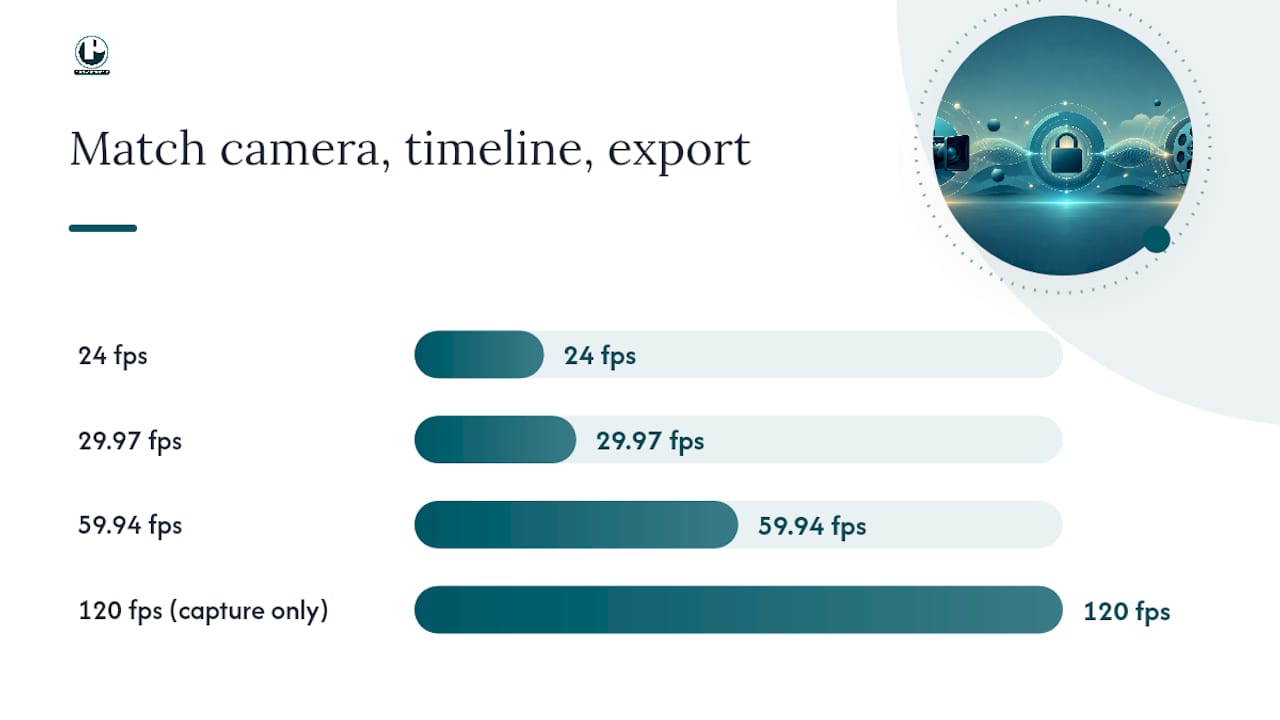
Retiming is the one legitimate exception, and it only goes one direction: capture high, deliver standard. Shoot at 120 fps specifically to slow it down, then conform that clip to your project’s actual delivery rate, whether that’s 24, 30, or 60. Dacast’s frame rate guide is blunt about why: most streaming platforms and playback systems simply don’t support 120 fps or 240 fps as a final delivery format, so footage shot that high has to come down before it reaches an audience.
The 29.97 and 59.94 numbers that show up instead of clean 30 and 60 aren’t a bug. They’re a holdover from analog broadcast engineering that persists today for compatibility reasons, and plenty of modern delivery pipelines still expect it by default.
A few practical notes worth logging before you roll:
Higher frame rates mean higher bitrate and larger file sizes, so verify your card speed and camera’s fps-versus-resolution limits before committing to a high-fps shoot.
Label every clip with its source frame rate during ingest. An editor who doesn’t know a clip was shot at 60 fps will often conform it incorrectly.
If any segment is destined for social platforms with their own spec requirements, confirm those specs before the shoot, not during export.
Get the media management right and the rest of post becomes routine instead of forensic.
What Two Decades of Interview Shoots Have Taught Us
Puritano has spent more than 20 years shooting interviews for corporate clients, nonprofits, and branded content campaigns across the DMV area and nationally, and the settings that get used on set are rarely complicated. For a standard corporate interview, that’s usually 30 fps, a 1/60 shutter, and a resolution chosen for the deliverable, often 4K master down to 1080p for web use. For a branded piece meant to feel more like a short film, the kit shifts to 24 fps, a 1/50 shutter, and a wider aperture with primes for a shallower depth of field, the kind of setup detailed in our notes on the Canon C500 Mark II for corporate interviews.
The difference shows up immediately in how footage feels, not just how it looks. A social-media interview cut at 30 fps plays fast and current. The same subject shot at 24 fps for a brand documentary reads slower, more deliberate. Same person, same questions, entirely different emotional register, all from a frame rate decision made before a single question was asked.
Ready to Shoot Your Next Interview Right?
Getting frame rate, shutter speed, and delivery specs aligned before the camera rolls saves hours in the edit bay and avoids the awkward conversation about reshoots. If you’d rather hand that decision to a crew that’s already made it hundreds of times, Puritano’s production team builds those choices into every corporate, nonprofit, and branded interview shoot from the first planning call. Browse examples of the cinematic, 24 fps treatment in our music video portfolio, or see how technical decisions play out in a full production package in our virtual events case study.
The Setting Everyone Gets Wrong
The frame rate debate gets more attention than it deserves. Most interview footage looks fine at either 24 or 30 fps, and the difference between them is a matter of taste, not competence. What actually sinks interview footage is shutter speed mismatch, and almost nobody talks about it with the same urgency.
I’d argue the industry’s obsession with “cinematic” 24 fps has created a blind spot. Creators chase the frame rate that sounds more professional while ignoring the shutter ratio that determines whether motion looks natural at all. A 30 fps interview shot at a correct 1/60 shutter will always beat a 24 fps interview shot at the wrong shutter speed, no exceptions.
The other underrated point: consistency beats cleverness. A production that shoots 30 fps throughout, matches its timeline, and exports clean will always outperform one that mixes frame rates trying to be creative and loses half a day in the edit reconciling footage that doesn’t line up. Pick your rate early. Match it everywhere. Save the creative risk-taking for lighting and composition, where it actually pays off.
Sources
Canon’s frame rate explainer and its companion technical guide lay out manufacturer-level reasoning behind matching fps to creative intent. GetStream’s FPS breakdown explains the hyper-real look that comes from misusing high frame rates. Adorama’s shutter and frame rate guide covers the 180-degree rule in practical depth, and Dacast’s frame rate guide addresses delivery-format constraints for high-fps footage.
Recommended
Interview settings stop being abstract once you are responsible for a whole season of conversations. Charlie Puritano directs our interview work on set and sits in the edit, and his method starts before the camera rolls, with questions built from each subject's own words in pre-interviews. On Chats with Change Makers, the series we direct for DiscoverE, planned sessions are designed so each conversation yields a full episode plus cutdowns and clips. Locking frame rate and shutter before the first question is part of that same discipline. Consistency is what makes a series cut together.


Comments